前段时间看到 DF 有颜色识别传感器的试用,联想到之前做的HAY旋转灯上正好可以用到这个传感器去改变颜色,于是就申请了下试用,没想到真的中了!
这是之前两期 HAY 旋转灯的的教程链接,感兴趣的可以去看看。
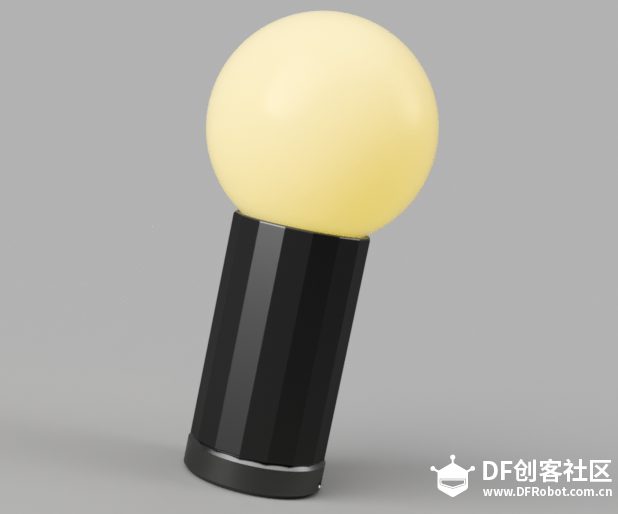
先来看一下效果:
演示视频:
制作视频:
废话不多说,马上来看看旋转灯怎么与颜色识别传感器怎么做结合吧!这次的作品名称叫:好色灯。
## 材料准备
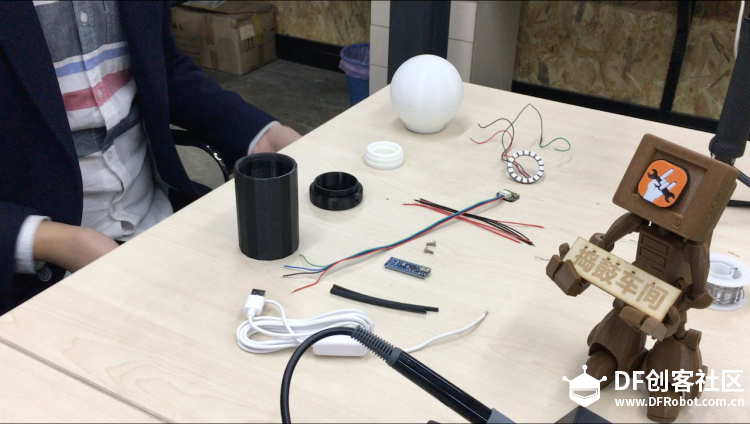
材料如下图,包含:
- 3D 打印结构件(从左至右分别为支撑架、底座、灯座、灯罩)
- Arduino Nano
- RGB LED 灯带
- USB 电源线
- 导线若干
- M3螺母
- 热缩管
## 电路原理图
电路原理图如下,fritzing 中找不到 DF 的颜色识别传感器,就用 Adafruit 的颜色识别传感器代替了,原理一样。

## 程序
程序也很简单,简单修改了下colorview的例程,兼容了WS2812 RGB LED。
- <font face="微软雅黑">#include <Wire.h>
- #include "DFRobot_TCS34725.h"
-
- #include <Adafruit_NeoPixel.h>
- #ifdef __AVR__
- #include <avr/power.h>
- #endif
-
- #define PIN 6
-
- // How many NeoPixels are attached to the Arduino?
- #define NUMPIXELS 16
-
- // our RGB -> eye-recognized gamma color
- byte gammatable[256];
-
- DFRobot_TCS34725 tcs = DFRobot_TCS34725(TCS34725_INTEGRATIONTIME_50MS, TCS34725_GAIN_4X);
-
- Adafruit_NeoPixel pixels = Adafruit_NeoPixel(NUMPIXELS, PIN, NEO_GRB + NEO_KHZ800);
-
- void setup() {
- Serial.begin(115200);
- Serial.println("Color View Test!");
-
- if (tcs.begin()) {
- Serial.println("Found sensor");
- } else {
- Serial.println("No TCS34725 found ... check your connections");
- while (1); // halt!
- }
-
- pixels.begin(); // This initializes the NeoPixel library.
-
- // thanks PhilB for this gamma table!
- // it helps convert RGB colors to what humans see
- for (int i=0; i<256; i++) {
- float x = i;
- x /= 255;
- x = pow(x, 2.5);
- x *= 255;
-
- gammatable<i> = x;
-
- }
- }
-
- void loop() {
- uint16_t clear, red, green, blue;
- tcs.getRGBC(&red, &green, &blue, &clear);
- tcs.lock(); // turn off LED
-
- // Figure out some basic hex code for visualization
- uint32_t sum = clear;
- float r, g, b;
- r = red; r /= sum;
- g = green; g /= sum;
- b = blue; b /= sum;
- r *= 256; g *= 256; b *= 256;
- Serial.print("\t");
- // Serial.print((int)r, HEX); Serial.print((int)g, HEX); Serial.print((int)b, HEX);
- Serial.print((int)r); Serial.print("\t");
- Serial.print((int)g); Serial.print("\t");
- Serial.print((int)b);
- Serial.println();
-
- //Serial.print((int)r ); Serial.print(" "); Serial.print((int)g);Serial.print(" "); Serial.println((int)b );
- //Set the color lamp
- for(int i=0;i<NUMPIXELS;i++){
- // pixels.Color takes RGB values, from 0,0,0 up to 255,255,255
- pixels.setPixelColor(i, pixels.Color(gammatable[(int)r], gammatable[(int)g], gammatable[(int)b])); // Moderately bright green color.
- // pixels.setPixelColor(i, pixels.Color((int)r, (int)g, (int)b));
-
- pixels.show(); // This sends the updated pixel color to the hardware.
-
- // delay(500); // Delay for a period of time (in milliseconds).
- }
- }</i></font>
## 制作过程
制作过程比较简单,基本上看图就好了。
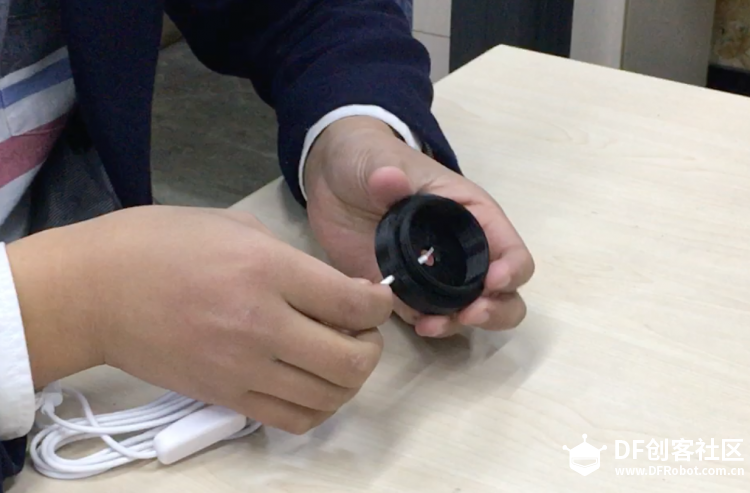
1、首先将 USB 电源线穿过底座上的电源孔:
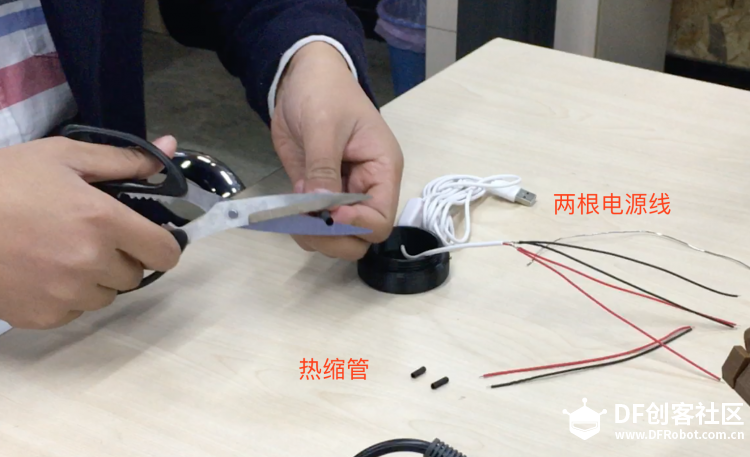
2、在 USB 电源线上焊上两组电源线,并且包覆热缩管:
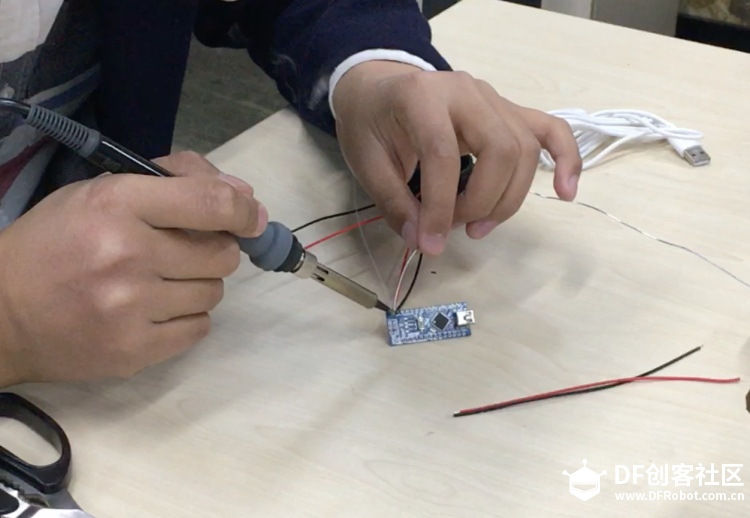
3、将其中一组电源线焊接到 Arduino Nano 的电源引脚上:
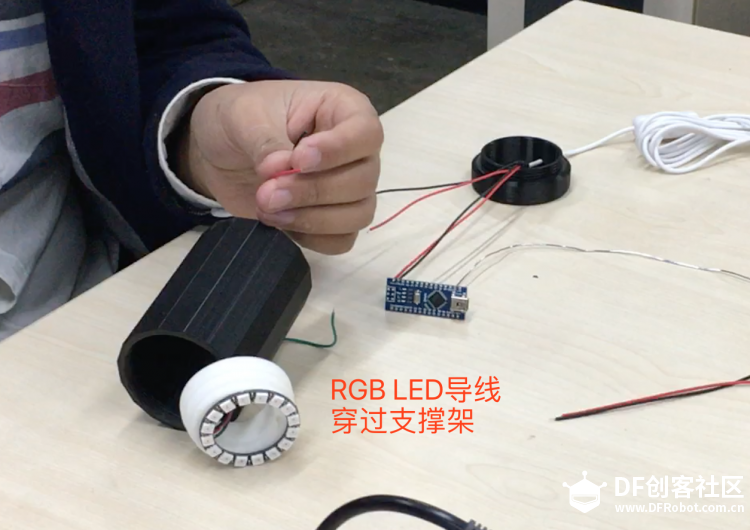
4、将 RGB LED 导线穿过灯座和支撑架:
5、将 RGB LED 导线焊接到 Arduino Nano 相应引脚上(具体见电路原理图):

6、将颜色识别传感器用 M3 螺丝固定在底座上:

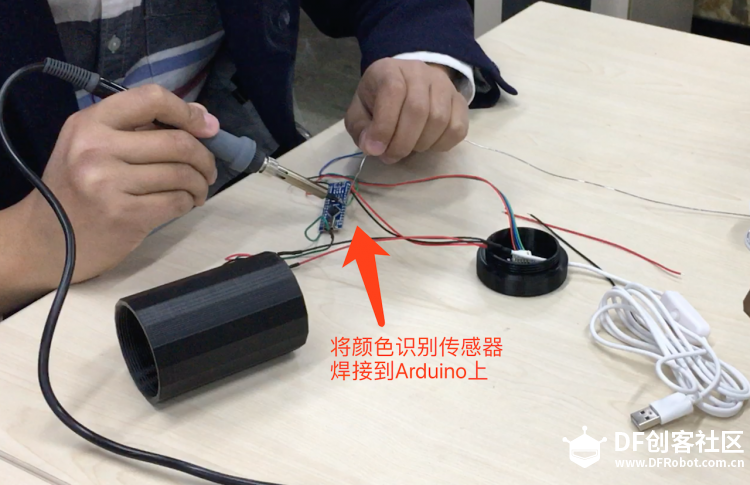
7、并且将颜色识别传感器的导线焊接到 Arduino Nano 相应引脚上(具体见电路原理图):
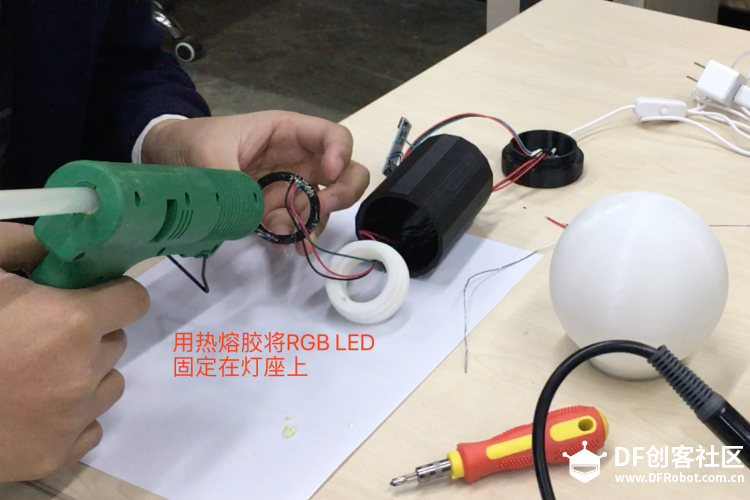
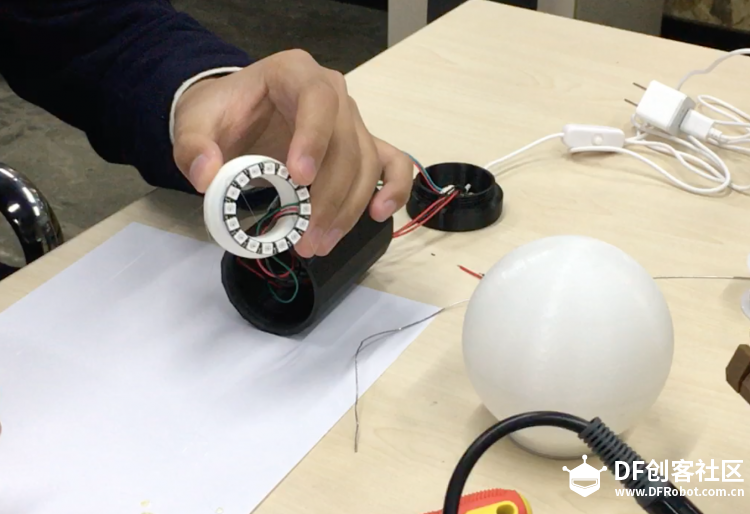
8、用热熔胶将 RGB LED 固定在灯座上:
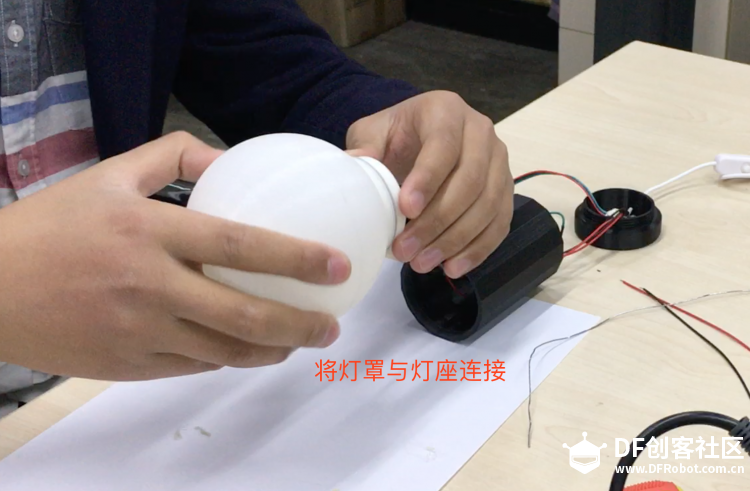
9、将灯罩与灯座通过螺纹拧在一起:
10、将灯罩与支撑架通过螺纹拧在一起:

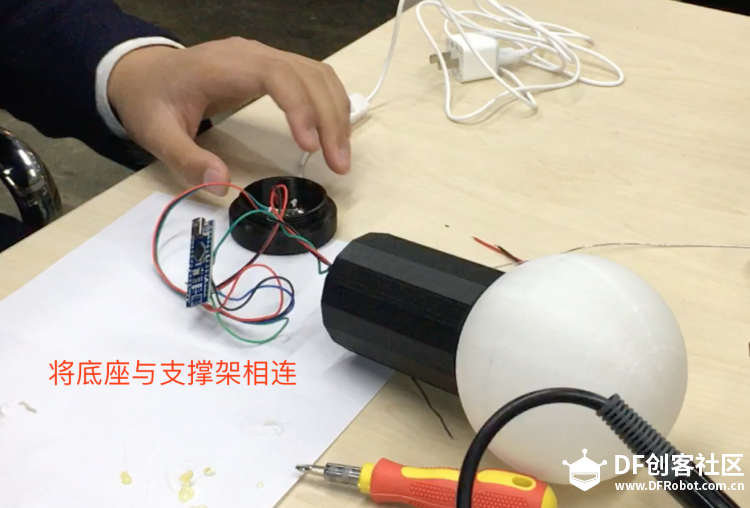
11、最后,将底座与支撑架通过螺纹拧在一起:
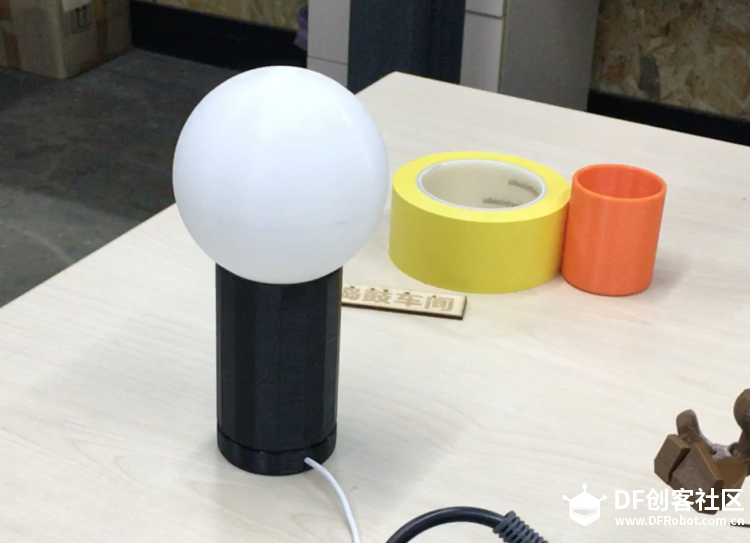
具备颜色识别功能的好色灯就制作完成啦!成品如下图:
## 附件
程序与3D打印结构下载:
链接: https://pan.baidu.com/s/1c2feX3M 密码: ynkj
| 


 沪公网安备31011502402448
 置顶卡
置顶卡 变色卡
变色卡 千斤顶
千斤顶


 活跃会员
活跃会员
 老版主限定
老版主限定
 创作达人
创作达人
 荣誉教师
荣誉教师
 编辑选择奖
编辑选择奖
 编辑选择奖
编辑选择奖
 编辑选择奖
编辑选择奖
 ARD DAY
 编辑选择奖
编辑选择奖
 编辑选择奖
编辑选择奖
 编辑选择奖
编辑选择奖