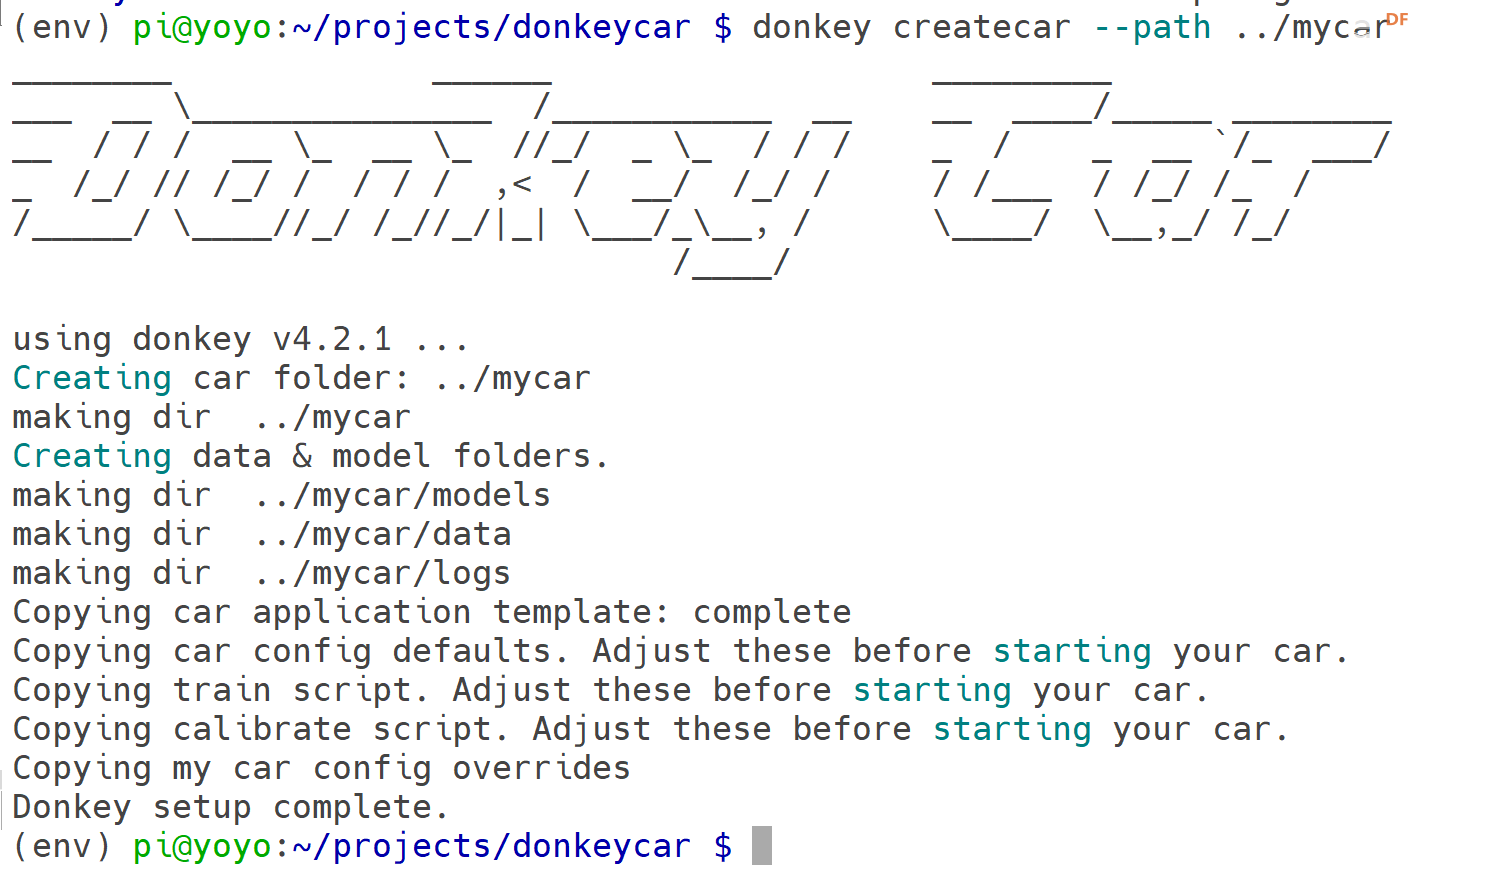
等全部安装好了,就进入驴车的应用环境,然后生成驴车应用:
- cd ~/projects/donkeycar/
- donkey createcar --path ../mycar
进入驴车应用目录编辑myconfig.py
- cd ../mycar
- vim myconfig.py
配置可以先别乱改,懂的备份一下随便折腾,不懂的跟着帖子操作。
然后安装i2ctools ,如果你用的是官方的
Raspberry Pi OS with desktop and recommended software
不需要安装i2c-tools,因为已经安装了
- sudo apt -y install i2c-tools
- sudo i2cdetect -y 1
检测一下是否检测到i2c设备,一个pca9685, 一个是oled屏幕的。
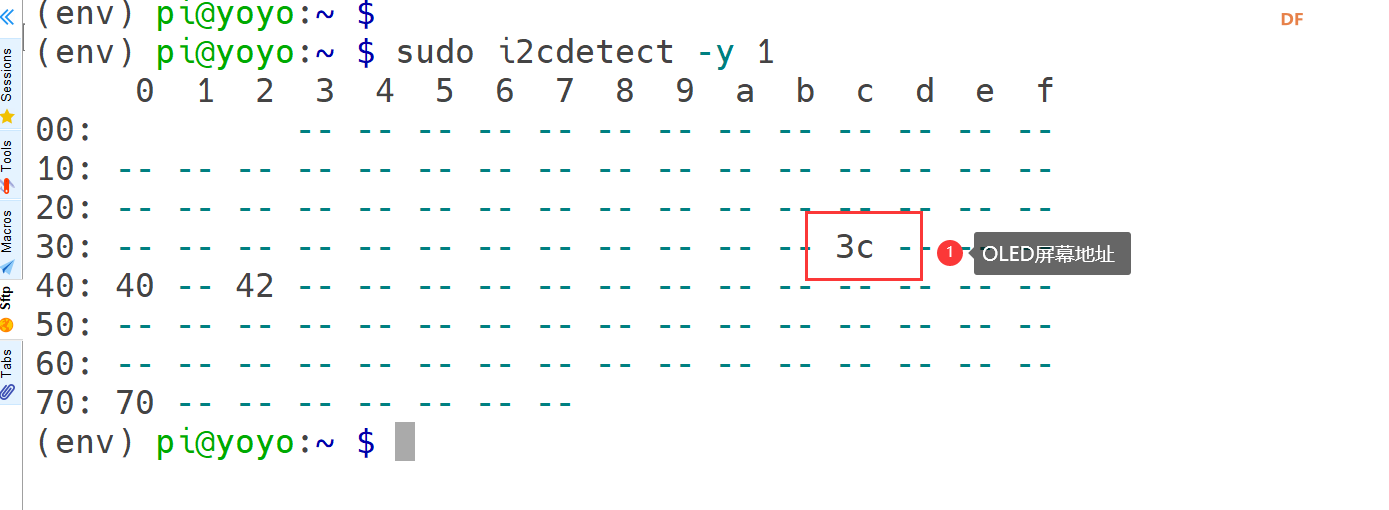
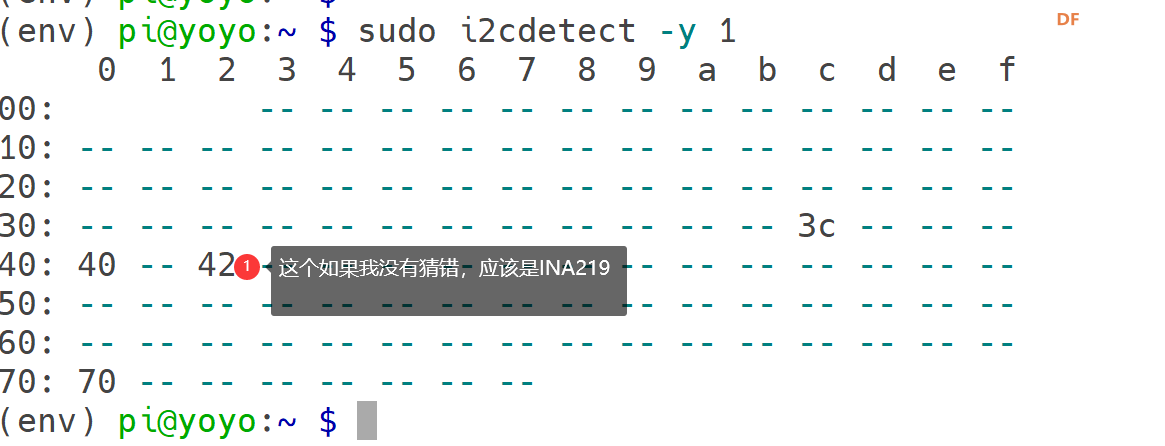
其他的应该就是pca9685的地址了。 微雪官方没有给出,电路图上好像给的也是不太对。。

官方是0x41 我获取的是0x40和0x42,先确认一下...
OLED 我用官方的方法安装,他们更新了安装方式但是没有更新文档,所以我决定尝试自己分步骤操作,先安装adafruit-ssd1306的库, 我已经转到gitee上,方便国内用户下载了:
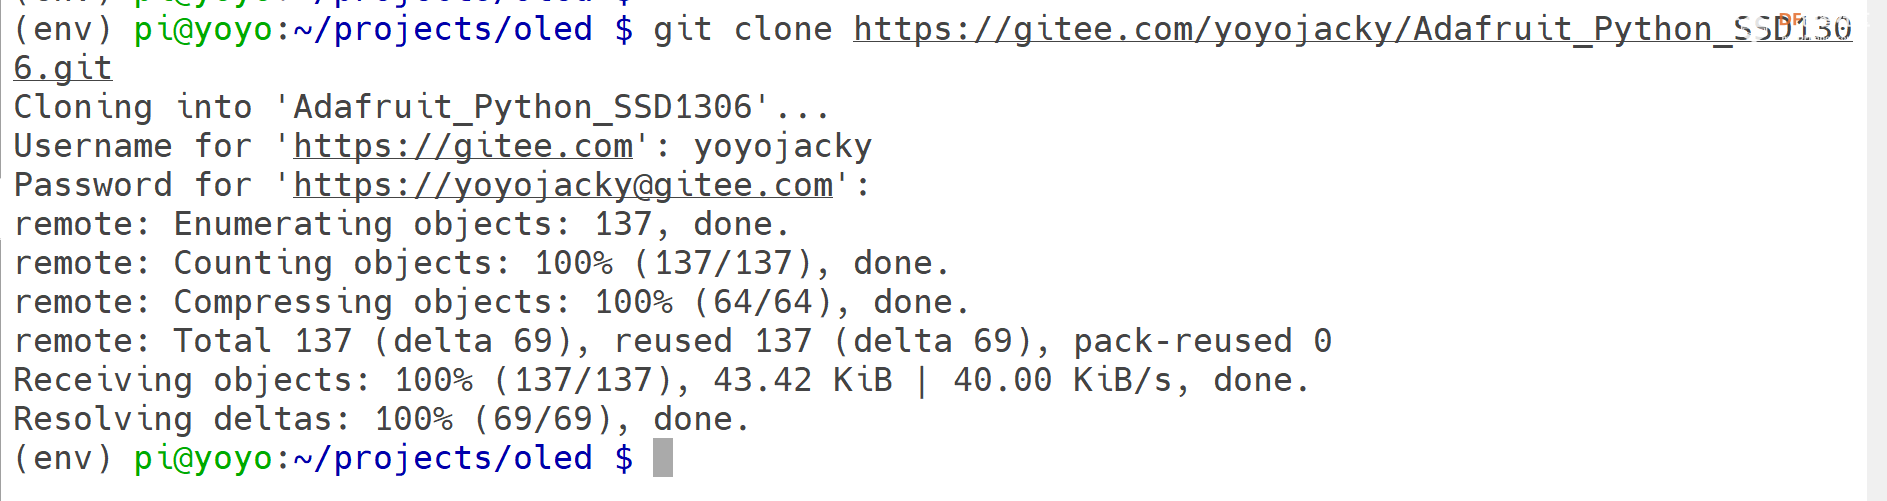
进入目录并执行:
- git clone https://gitee.com/yoyojacky/Adafruit_Python_SSD1306.git
- cd Adafruit_Python_SSD1306/
- python setup.py install
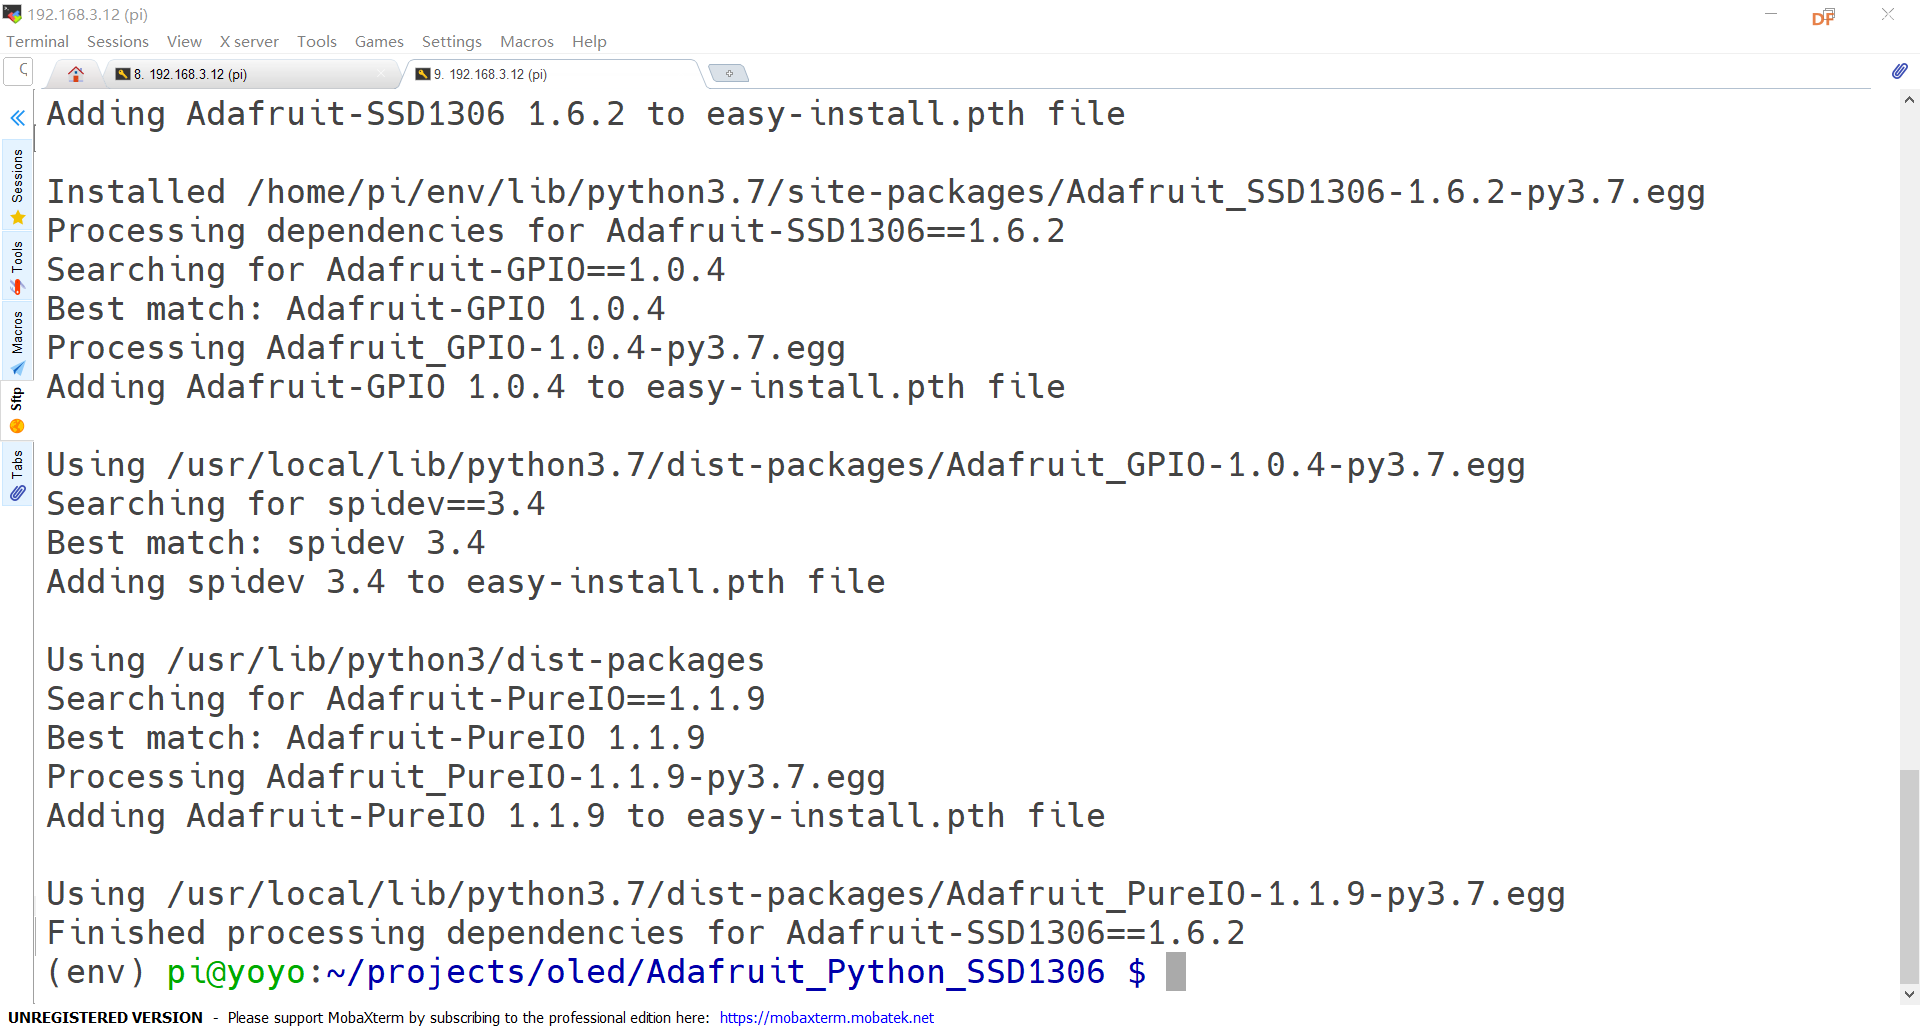
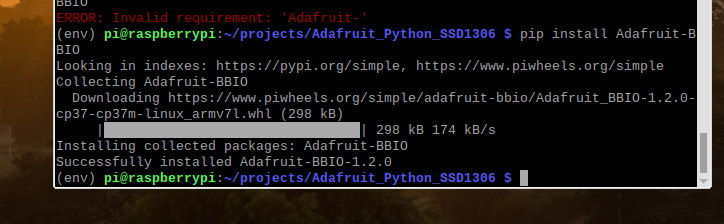
安装Adafruit-BBIO库
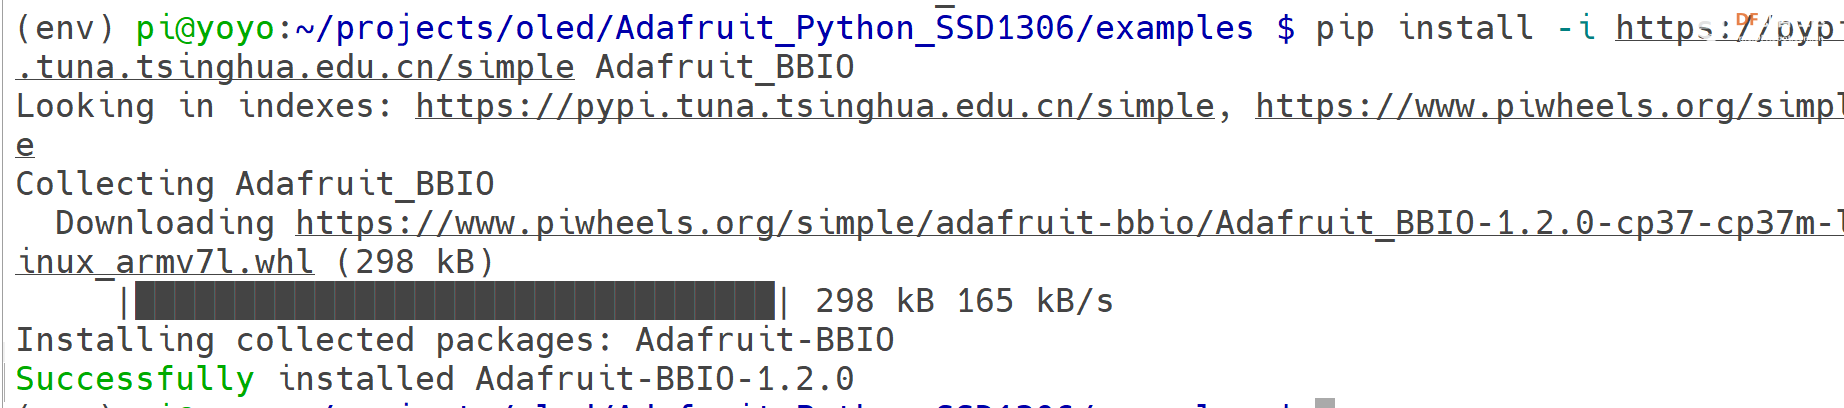
库就安装好了。
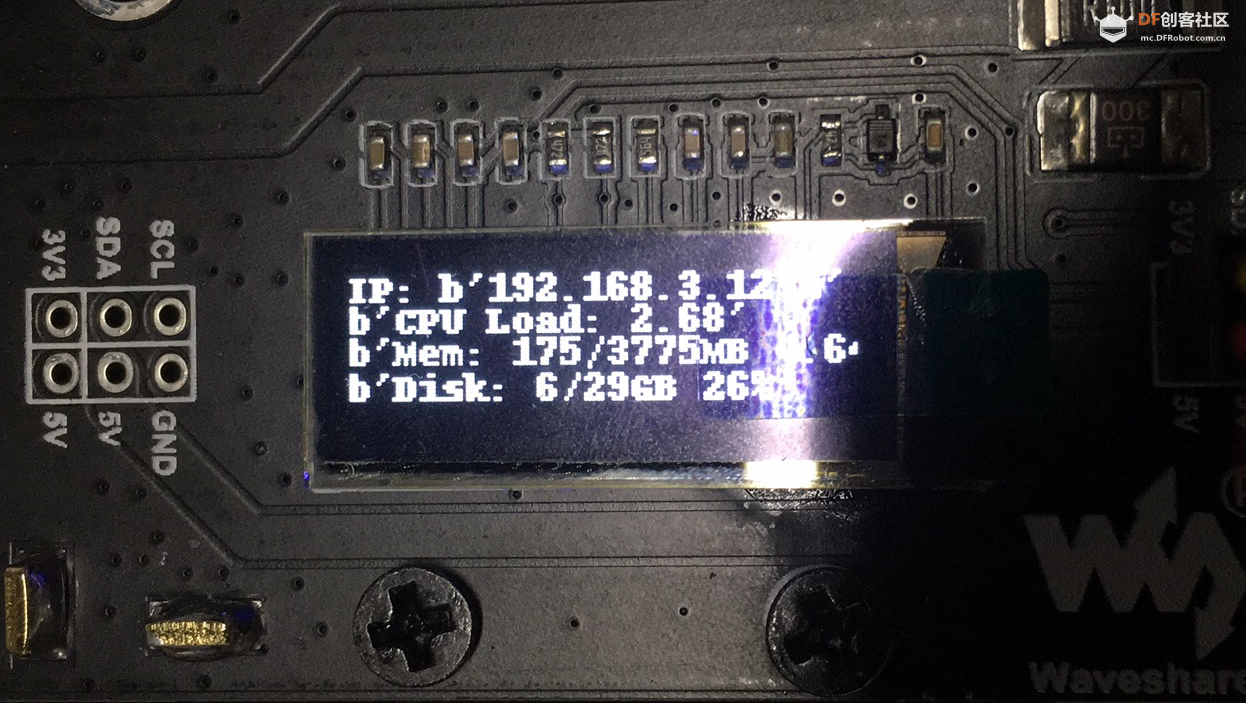
- cd examples/
- python stats.py
就会看到:
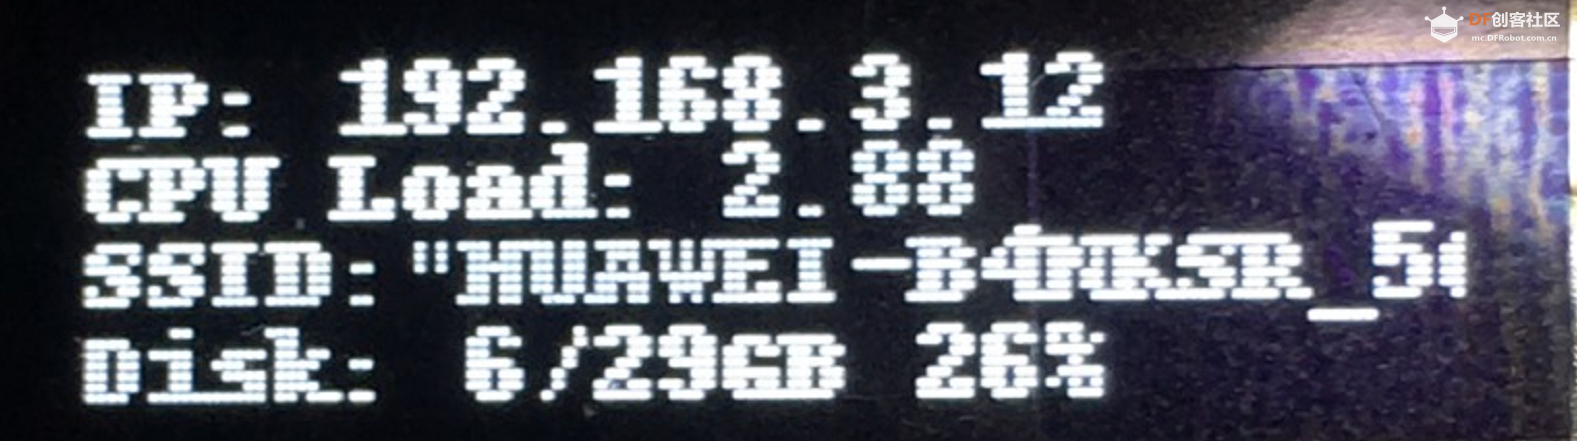
需要什么信息自己改一下stats.py 就可以了,现在显示不好看。我去调整一下,创建了一个文件donkey.py, 然后写入一点点儿代码。
- import time
-
- import Adafruit_SSD1306
-
- from PIL import Image
- from PIL import ImageDraw
- from PIL import ImageFont
-
- import subprocess
-
- # 128x32 display with hardware I2C:
- RST = None
- disp = Adafruit_SSD1306.SSD1306_128_32(rst=RST)
-
- # Initialize library.
- disp.begin()
-
- # Clear display.
- disp.clear()
- disp.display()
-
- # Create blank image for drawing.
- # Make sure to create image with mode '1' for 1-bit color.
- width = disp.width
- height = disp.height
- image = Image.new('1', (width, height))
-
- # Get drawing object to draw on image.
- draw = ImageDraw.Draw(image)
-
- # Draw a black filled box to clear the image.
- draw.rectangle((0,0,width,height), outline=0, fill=0)
-
- # Draw some shapes.
- # First define some constants to allow easy resizing of shapes.
- padding = -2
- top = padding
- bottom = height-padding
- # Move left to right keeping track of the current x position for drawing shapes.
- x = 0
-
-
- # Load default font.
- font = ImageFont.load_default()
-
-
- while True:
- draw.rectangle((0,0,width,height), outline=0, fill=0)
终端执行测试:
复制代码
我的这个脚本还需要一个systemd服务才能方便每次开机启动。找个时间写。
-------------------------------------------------------华丽的分割线-------------------------------------------------------------
官方的pi-display我拉到gitee.com上面了。
大家也可以通过:
- cd ~/projects
- git clone https://gitee.com/yoyojacky/pi-display.git
- cd pi-display/
- sudo ./install.sh raspberry
-
这里我发现国内一个哥们已经拉下来了pi-display的库,然后他把pidisplay的一个目录改成了pi-display,所以你们怎么安装都不会过。
我改回来了,你们直接用我上面的方式就可以操作,然后sudo ./install.sh 后面是你用户的密码。我这里用了通用的密码,我的已经改掉了。哈哈
然后就可以看到基础服务的状态:
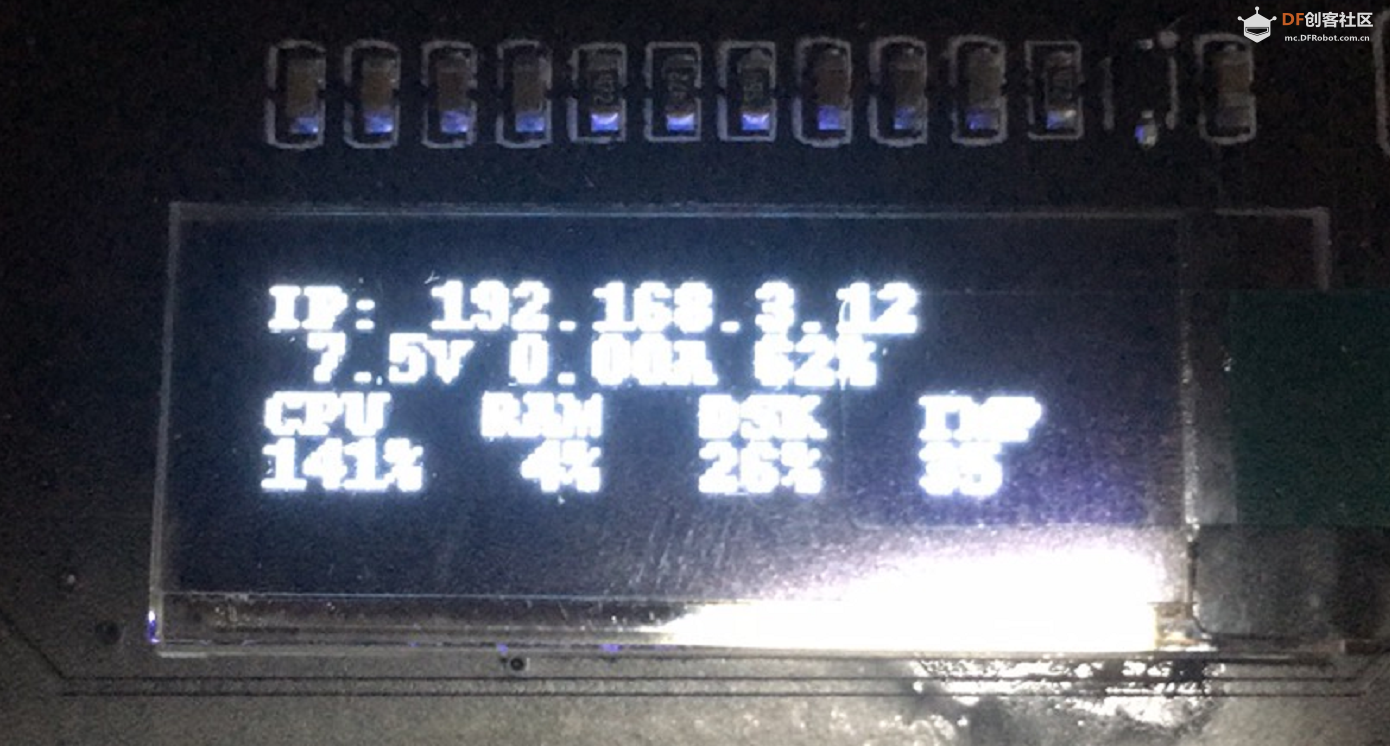
好了,OLED启动了,重启看看是否也能看到,能就继续去校准油门,然后开车。
| 

 沪公网安备31011502402448
 置顶卡
置顶卡 变色卡
变色卡 千斤顶
千斤顶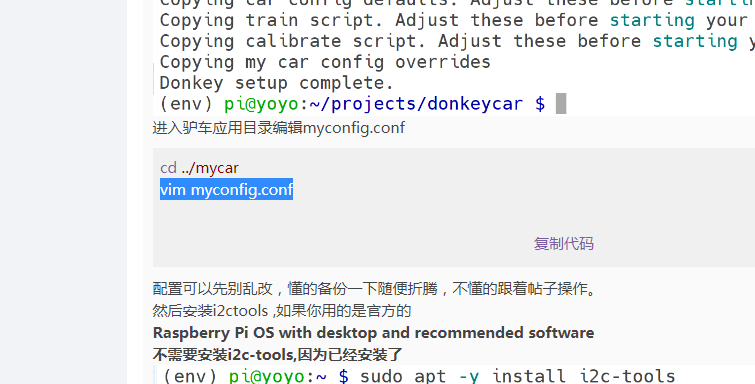

 创作达人
创作达人
 编辑选择奖
编辑选择奖
 编辑选择奖
编辑选择奖
 创客造
创客造
 编辑选择奖
编辑选择奖