这个机械手很久之前就在做了,但是没有做完,直到看到张禄的同步机械臂。我又开始了制作并完成了机械臂。最近收到LEE大大的赞助,准备把这次制作过程,写成详细教程,让小白无障碍制作 !机械部分(可以说完成了机械部分,基本上完成了制作的大部分工作)
先从手指开始,手指5根,分别打印出来,经过打磨、钻孔,安装螺丝。器材:
螺丝 20、25、30
PLA 白色
风筝线或鱼线
舵机
……(持续更新)
3D打印模型文件分别为:
Auriculaire(小指)、ringfinger(无名指)、Index(食指)、Majeure(中指)、thumb(大拇指)

打印出手指部件
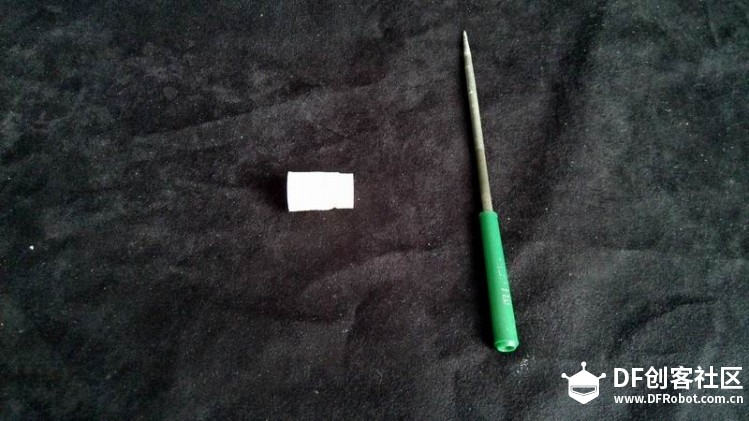
用锉刀修饰模型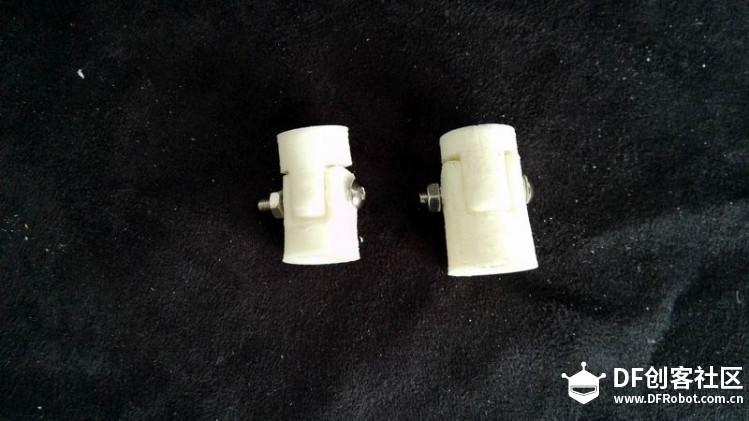
钻孔后用AB胶粘接
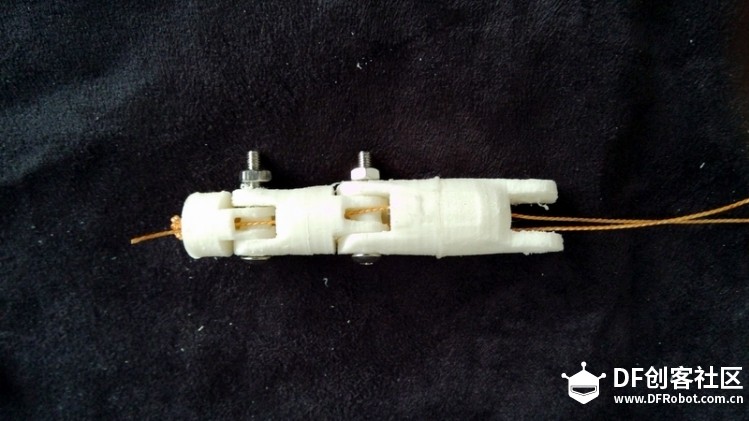
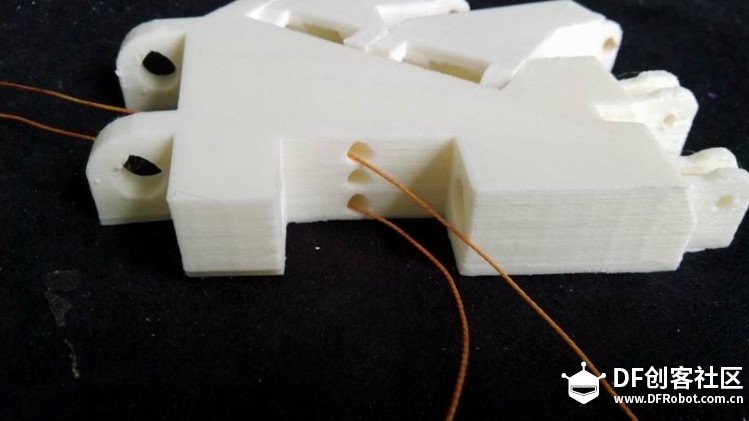
穿线
注意线头打结!
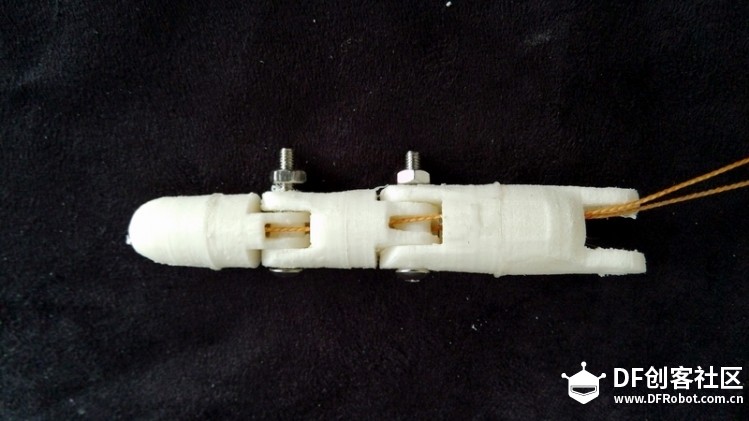
再将指头盖用胶与指粘接
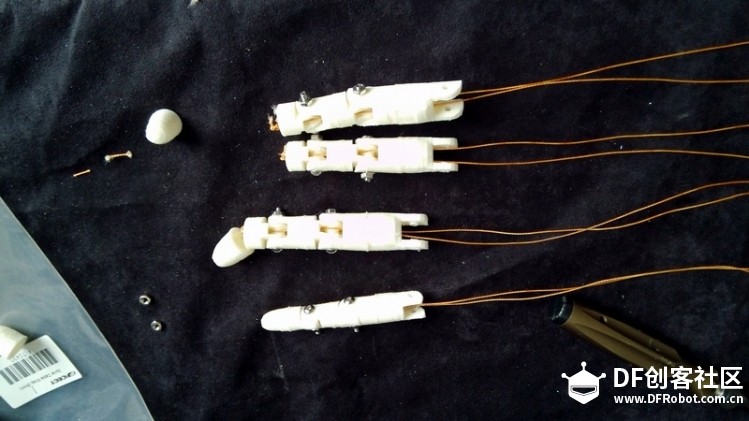
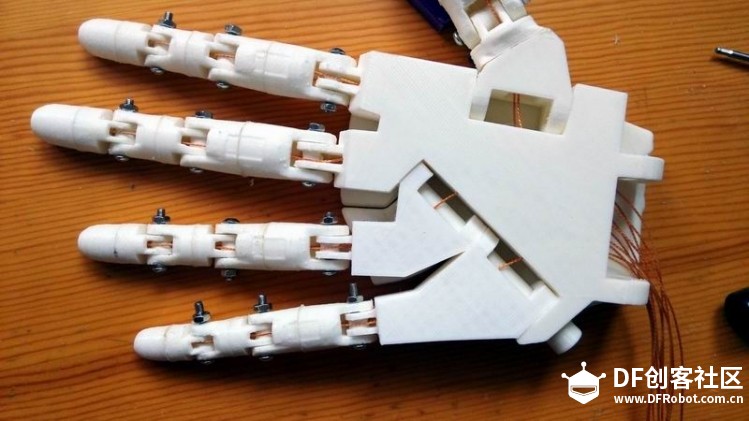
其余手指安装与之类似,注意每根手指两根线,分别用于弯曲和伸直手指。穿线时不要让两根线缠绕在一起。
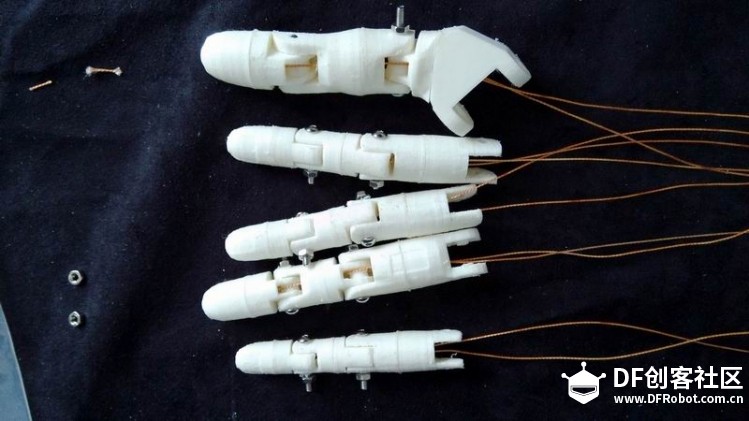
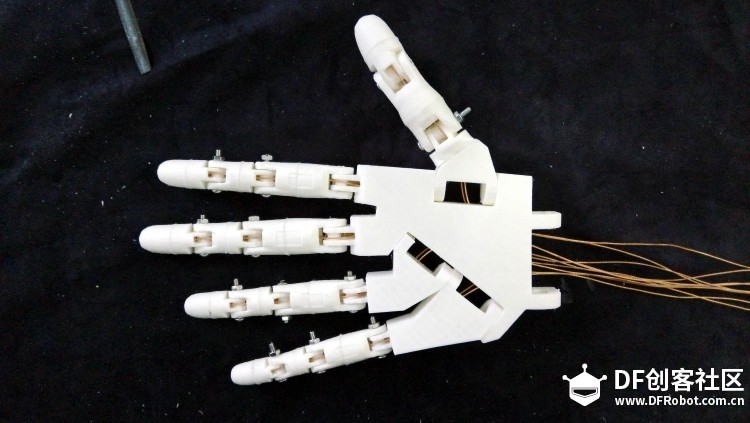
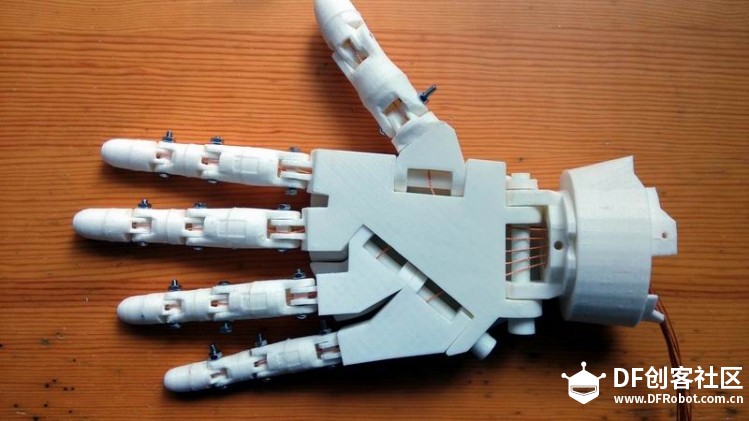
五根手指打齐并正确穿线。
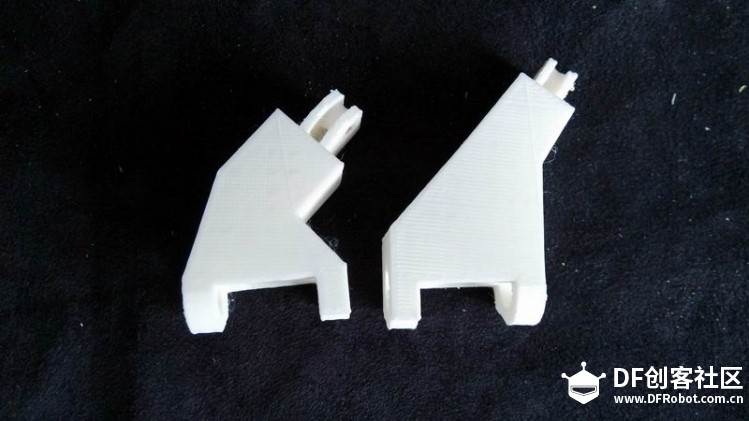
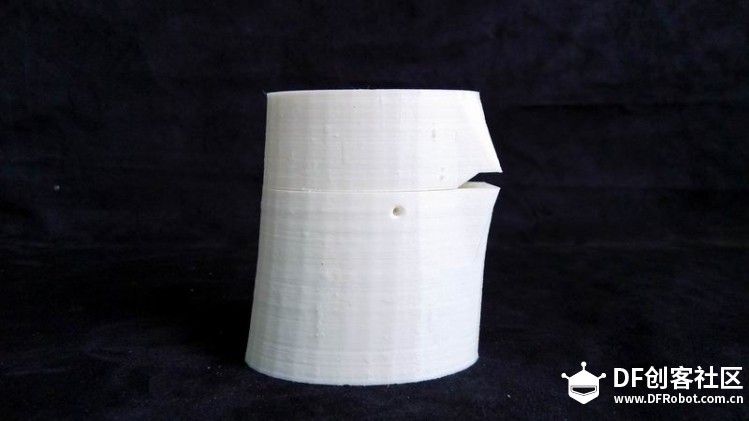
打印文件:WristsmallV3.stl
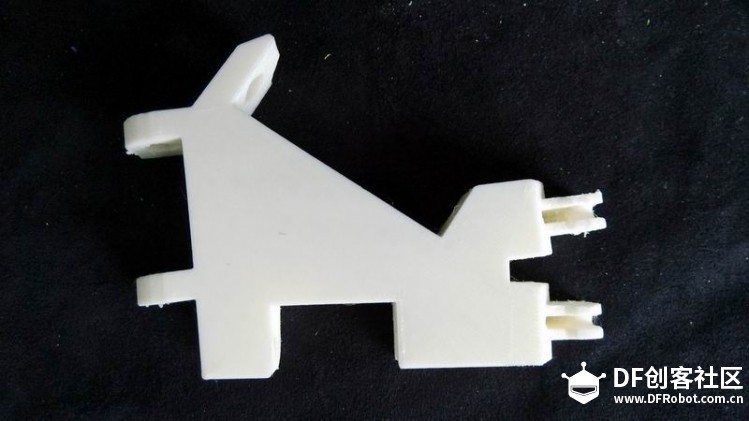
打印文件:WristlargeV4.stl
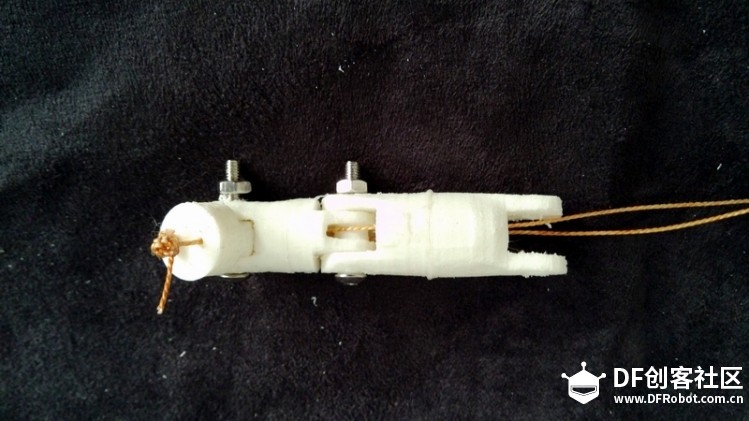
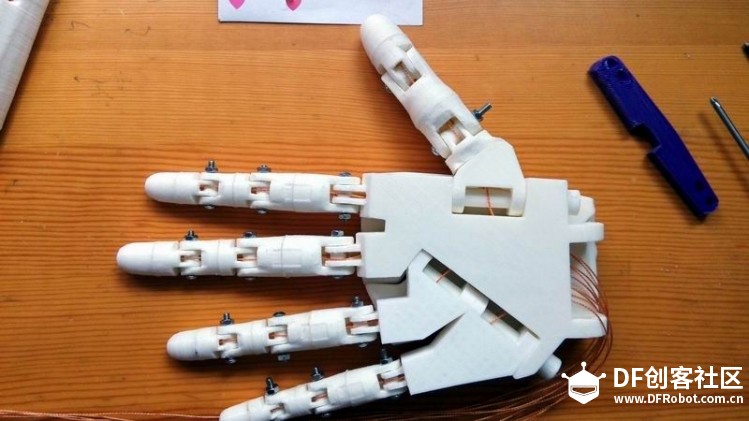
将大拇指两根线穿过手掌,注意我们使用了,上下两孔洞。
(持续更新中)6月4日外出一天陪朋友去常州看创客空间 。
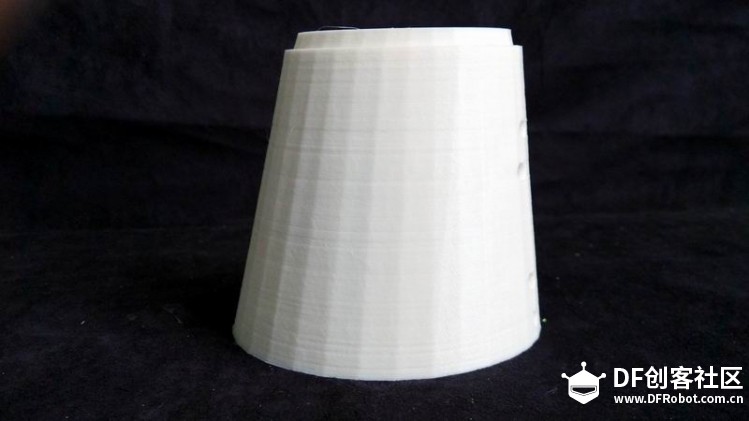
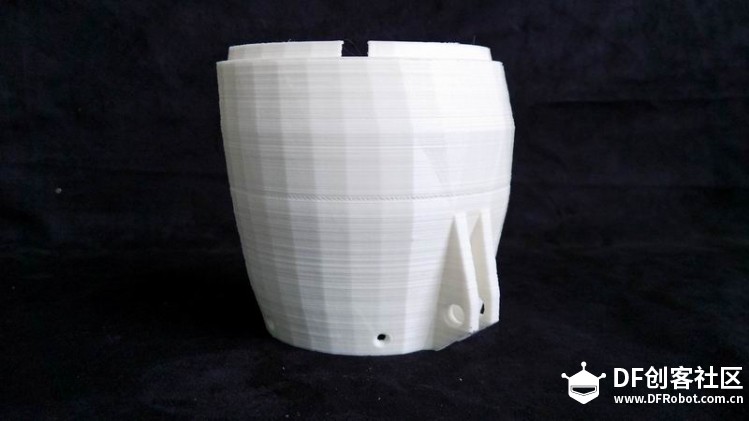
rotawrist3V2
rotawrist2.stl
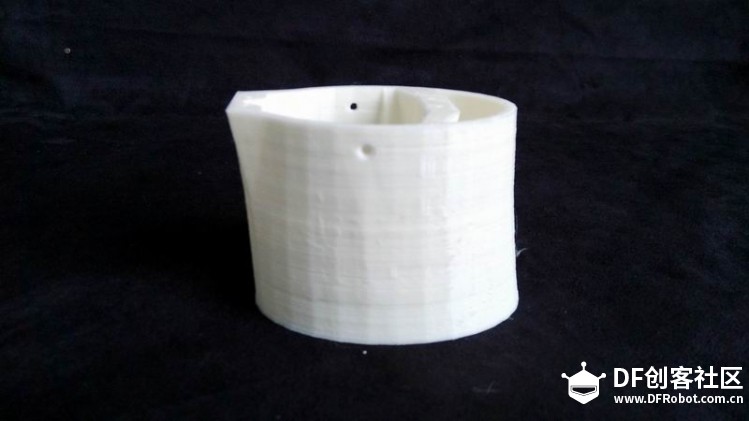
rotawrist1V3.stl
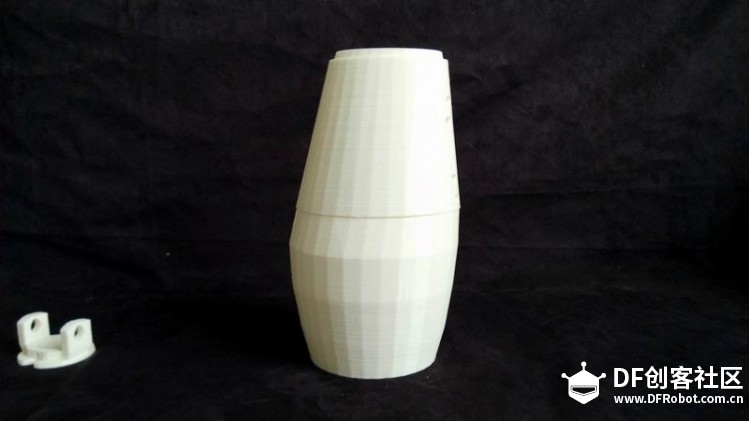
组合后形态,构成手腕部分

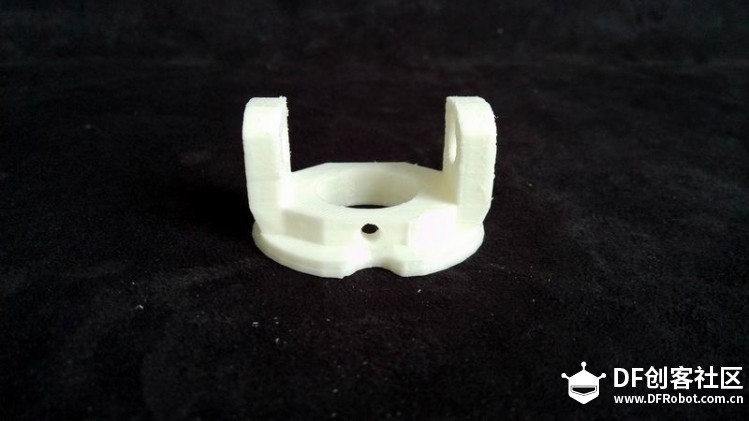
robpart5V3.stl,将模型文件打印出来后,去除支撑如下图所示。
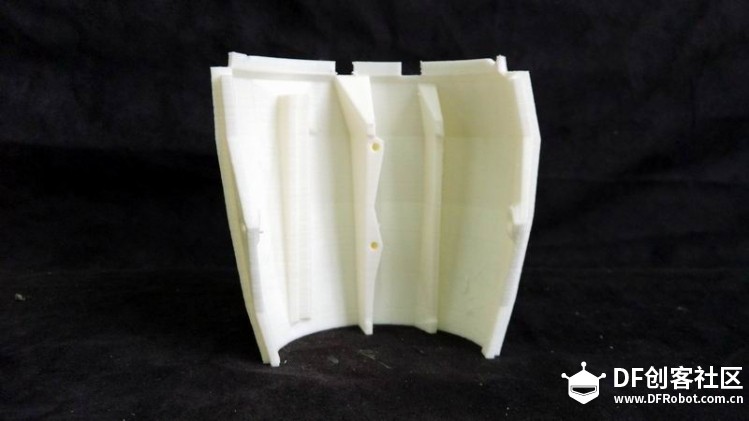
去除支撑后的模型
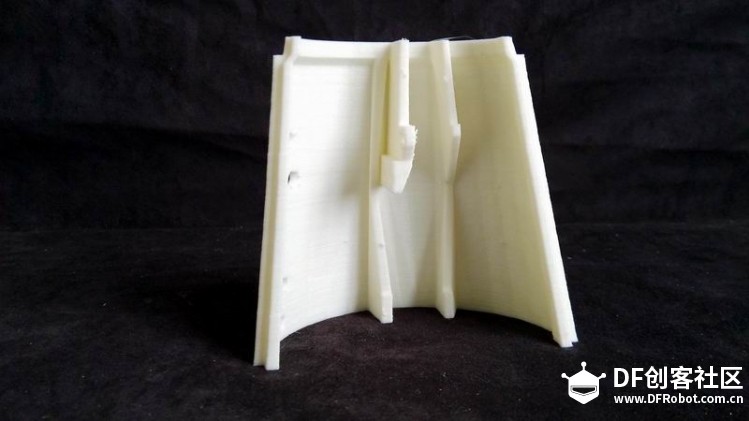
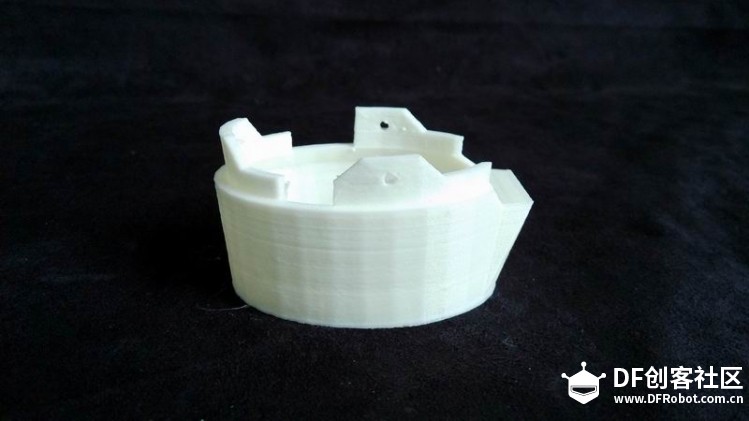
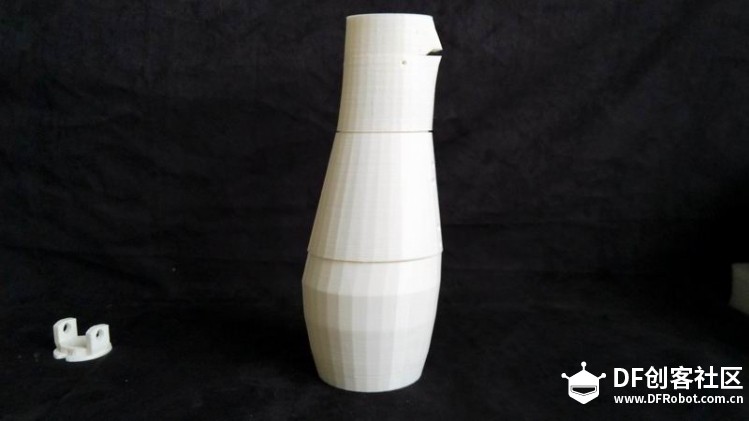
robpart4V3.stl如上述模型一样打印后去除支撑
组合后形态
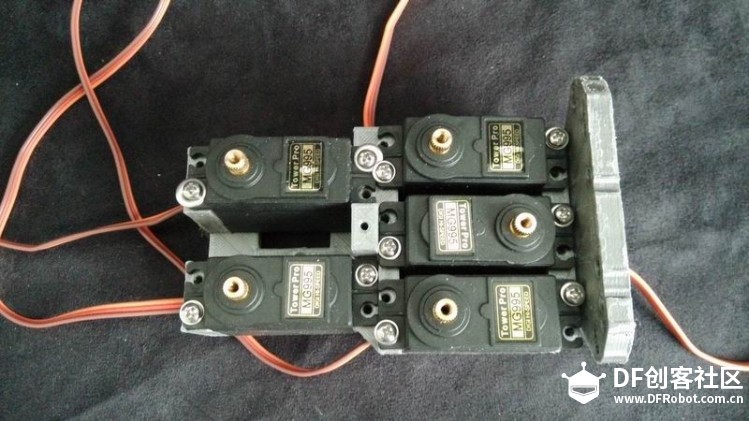
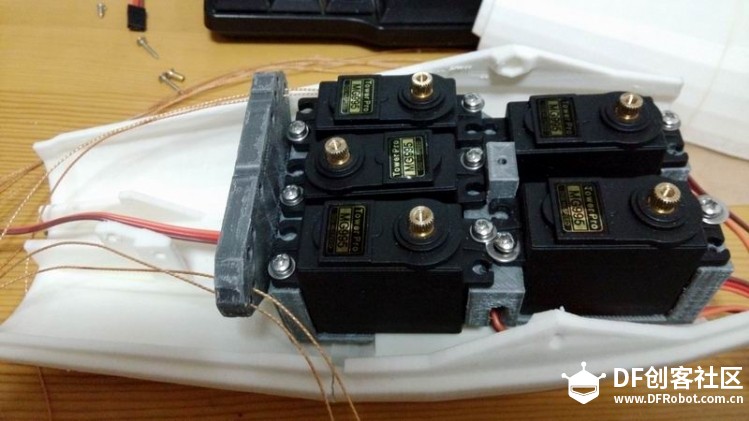
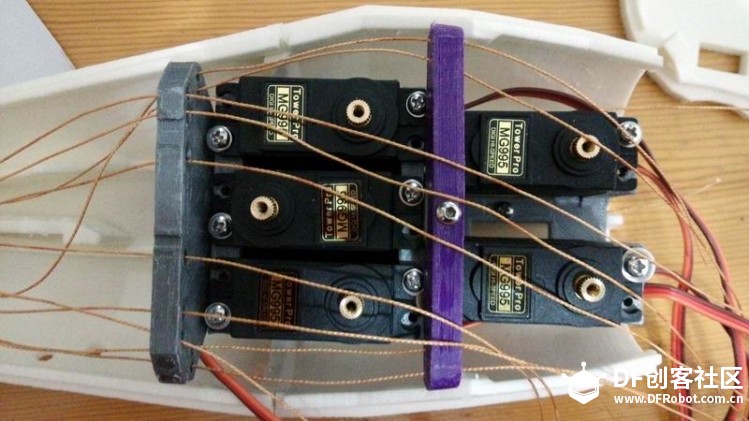
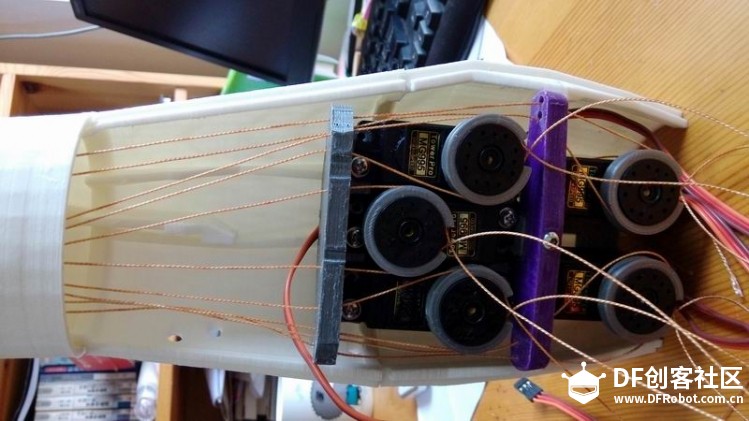
RobServoBedV5,打印上图所示舵机床,将5个舵机按上图所示方式安装上。
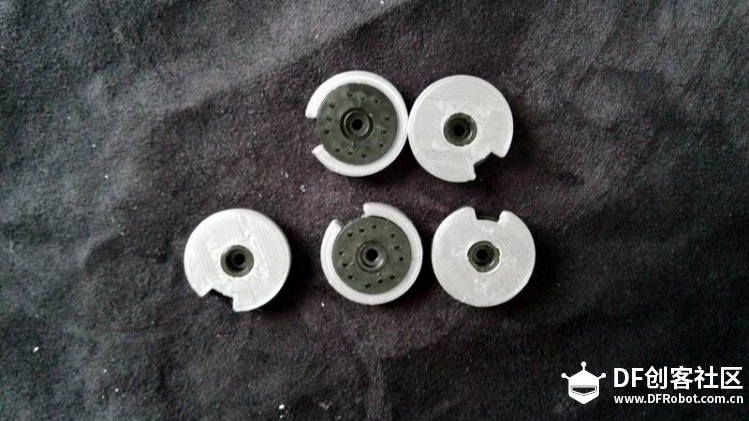
servo-pulleyX5.stl,打印好以后,将舵机圆形多盘安装到此模型中,如上图所示
今天是高考,不过今年我不用监考,所以在家休息,烧锅接送孩子之余,继续我们的机械手安装。
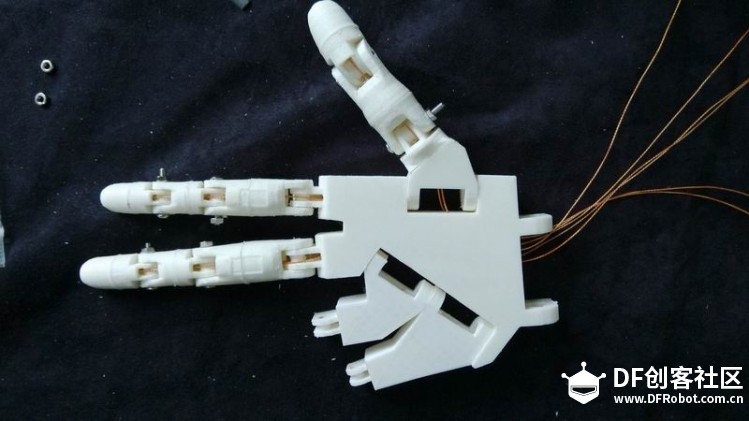
小指无名指中轴安装,适当打磨后将中轴从孔中插入,注意控制手指弯曲和伸展的控制线不要缠绕,且分布与中轴两侧。
拇指中轴安装,适当打磨后,将其正确安装,方法如上。
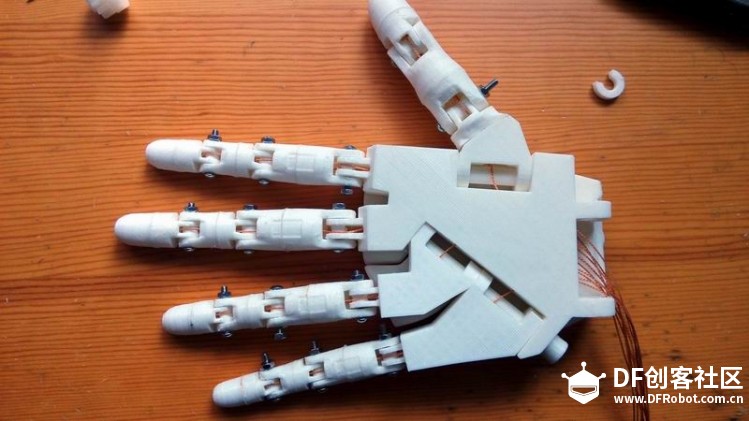
安装注意确保中轴尾部进入孔内,如上图所示,否则会影响腕部中轴的安装。
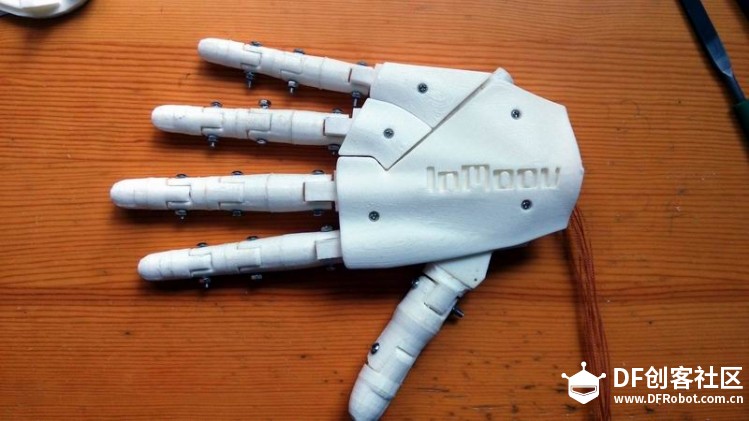
用螺丝将手表面固定LOGO ——INMOOV
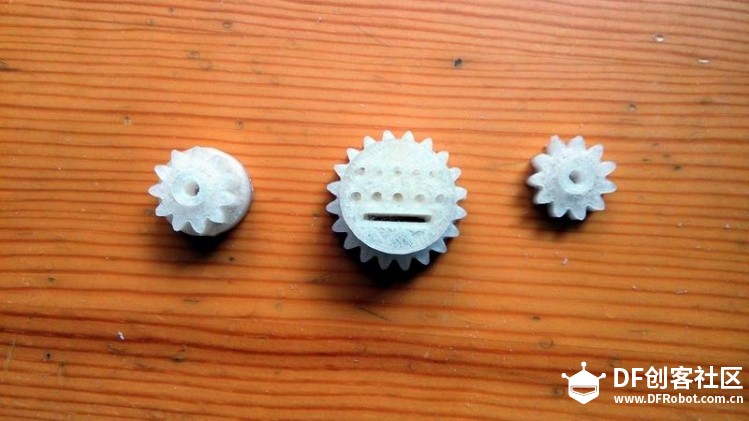
打印腕部齿轮
将齿轮与腕部固定
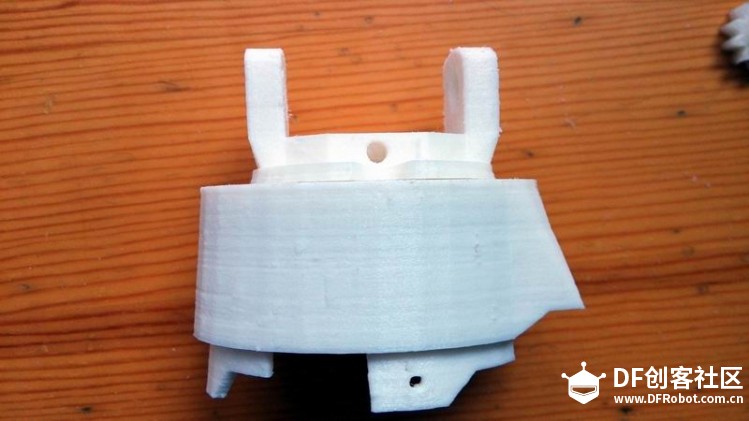
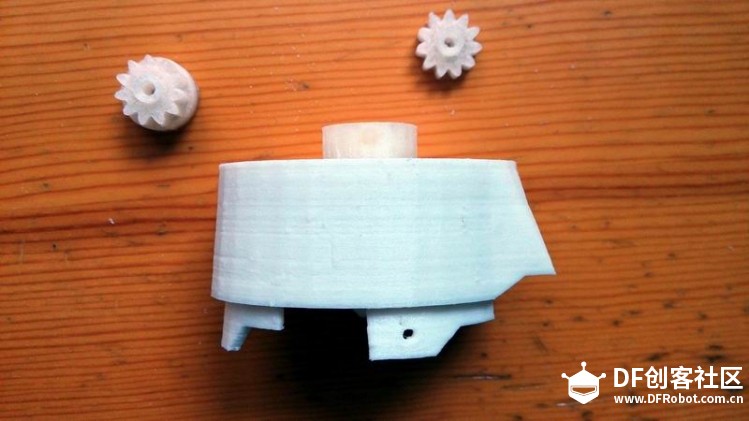
再将rotawrist3V2与其连接如上图。
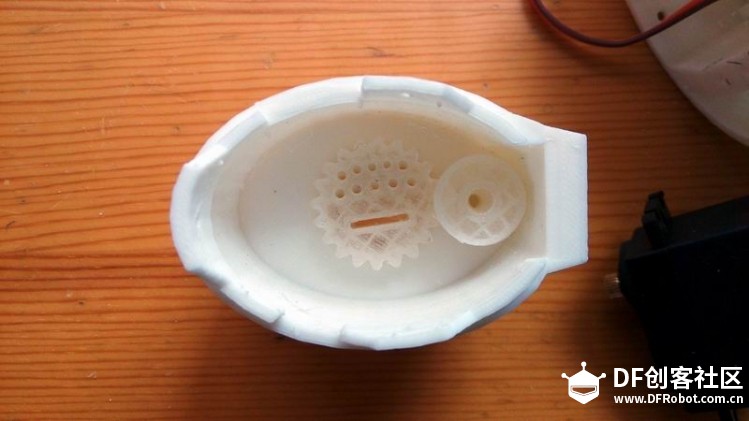
内部齿轮组安装如图所示
腕部中轴安装,还是要注意线分布在中轴两侧。

中轴另一端用扣子扣住。

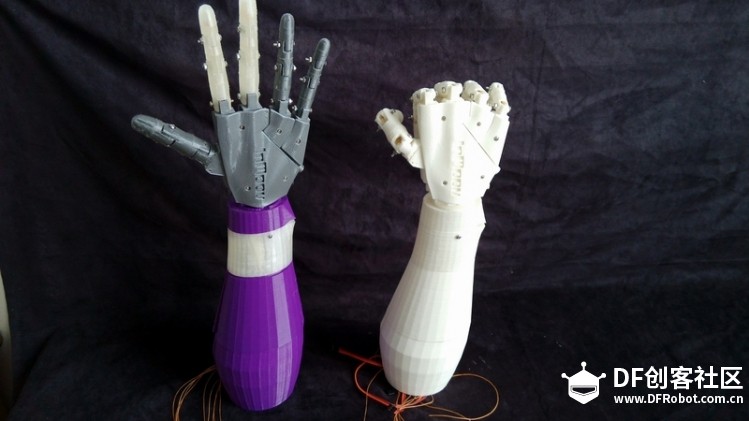
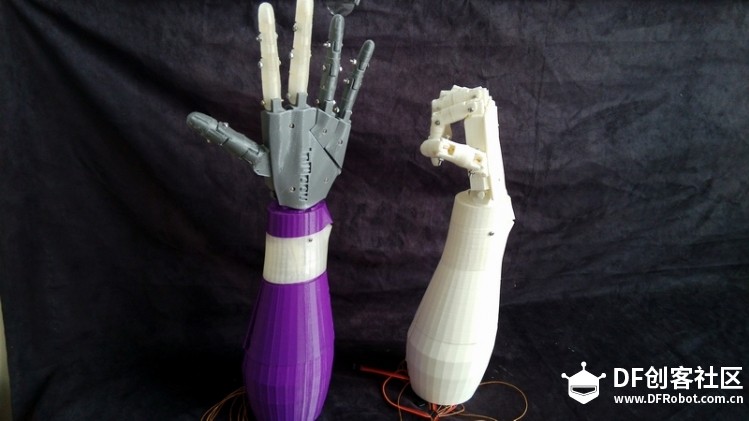
手掌与腕部安装完毕
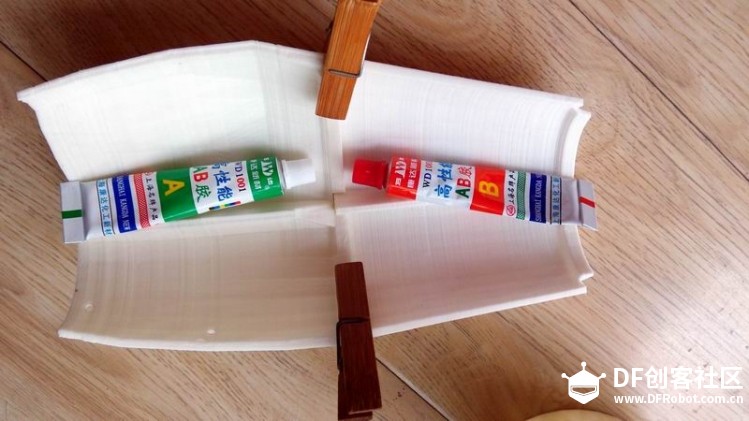
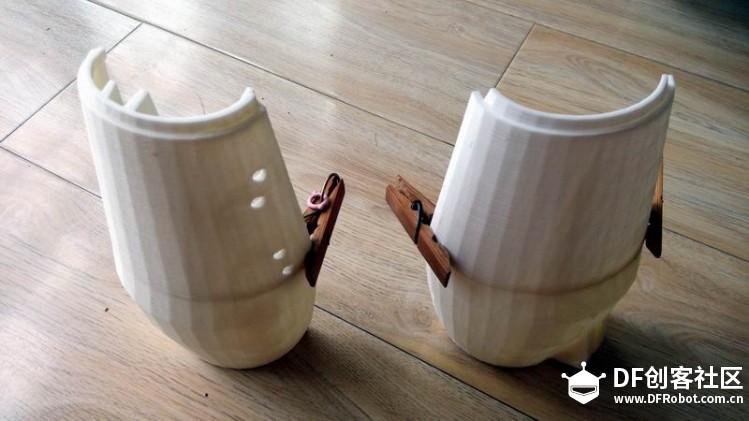
手臂前后片用AB胶水,粘接,为了使其粘接更为牢固可用夹子加以固定。
6月8号

物理电路连接图如下所示(使用5根弯曲传感器)
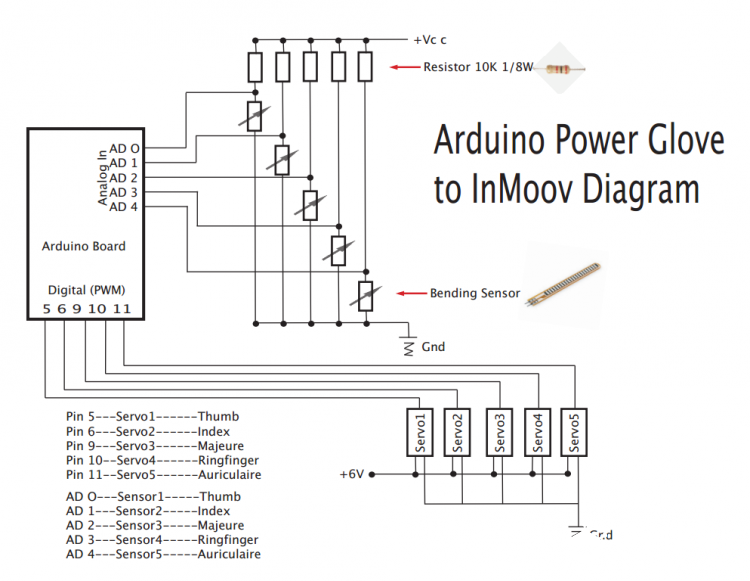
代码编写:原理很简单通过5根弯曲传感器的弯曲度,将其映射为舵机的旋转角度。
- // Controlling a servo position using a potentiometer (variable resistor)
- // by Michal Rinott <http://people.interaction-ivrea.it/m.rinott>
-
- #include <Servo.h>
-
- Servo thumbservo,indexservo,middleservo,ringservo,littleservo; // create servo object to control a servo
-
- int thumbpin = 0; // analog pin for thumb connect the flex sensor
- int indexpin = 1; // analog pin for index connect the flex sensor
- int middlepin = 2; // analog pin for middle connect the flex sensor
- int ringpin=3; // analog pin for ring connect the flex sensor
- int littlepin=4; // analog pin for little connect the flex sensor
- int val1,val2,val3,val4,val5; // variable to read the value from the analog pin
-
- void setup()
- {
- thumbservo.attach(5); // attaches the servo on pin 5 for the thumb
- indexservo.attach(6); // attaches the servo on pin 6 for index finger
- middleservo.attach(9); // attaches the servo on pin 9 for the middle finger
- ringservo.attach(10); // attaches the servo on pin 10 for the ring finger
- littleservo.attach(11); // attaches the servo on pin 11 for the little finger
-
- }
-
- void loop()
- {
- val1 = analogRead(thumbpin); // reads the value of the potentiometer (value between 0 and 1023)
- val1= map(val1, 768, 853, 0, 179); // scale it to use it with the servo (value between 0 and 180)
- thumbservo.write(val1); // sets the servo position according to the scaled value
-
- val2 = analogRead(indexpin); // reads the value of the potentiometer (value between 0 and 1023)
- val2= map(val2, 768, 853, 0, 179); // scale it to use it with the servo (value between 0 and 180)
- indexservo.write(val2); // sets the servo position according to the scaled value
-
- val3 = analogRead(middlepin); // reads the value of the potentiometer (value between 0 and 1023)
- val3= map(val3, 768, 853, 0, 179); // scale it to use it with the servo (value between 0 and 180)
- middleservo.write(val3); // sets the servo position according to the scaled value
-
- val4 = analogRead(ringpin); // reads the value of the potentiometer (value between 0 and 1023)
- val4= map(val4, 768, 853, 0, 179); // scale it to use it with the servo (value between 0 and 180)
- ringservo.write(val4); // sets the servo position according to the scaled value
-
- val5 = analogRead(littlepin); // reads the value of the potentiometer (value between 0 and 1023)
- val5= map(val5, 768, 853, 0, 179); // scale it to use it with the servo (value between 0 and 180)
- littleservo.write(val5); // sets the servo position according to the scaled value
- delay(10); // waits for the servo to get there
- }
以上代码是联机版本。拓展应用:
无线连接版本
|  精华
精华
 [复制链接]


 沪公网安备31011502402448

 置顶卡
置顶卡 变色卡
变色卡 千斤顶
千斤顶
 lz比我的精致多了,期待楼主的视频
 萌萌哒新人
萌萌哒新人
 活跃会员
活跃会员
 宣传大使
宣传大使
 版主限定
版主限定
 牛X认证
牛X认证
 创作达人
创作达人
 小蘑菇
小蘑菇
 蘑菇人
蘑菇人
 蘑菇老人
蘑菇老人
 荣誉教师
荣誉教师
 编辑选择奖
编辑选择奖
 编辑选择奖
编辑选择奖
 编辑选择奖
编辑选择奖
 ARD DAY
 编辑选择奖
编辑选择奖
 创客造
创客造
 编辑选择奖
编辑选择奖
 编辑选择奖
编辑选择奖
 编辑选择奖
编辑选择奖
 编辑选择奖
编辑选择奖